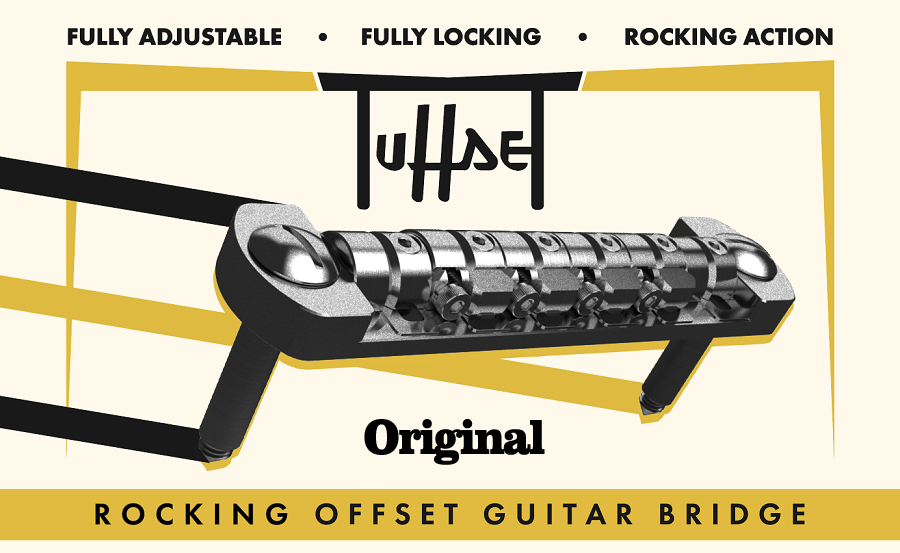
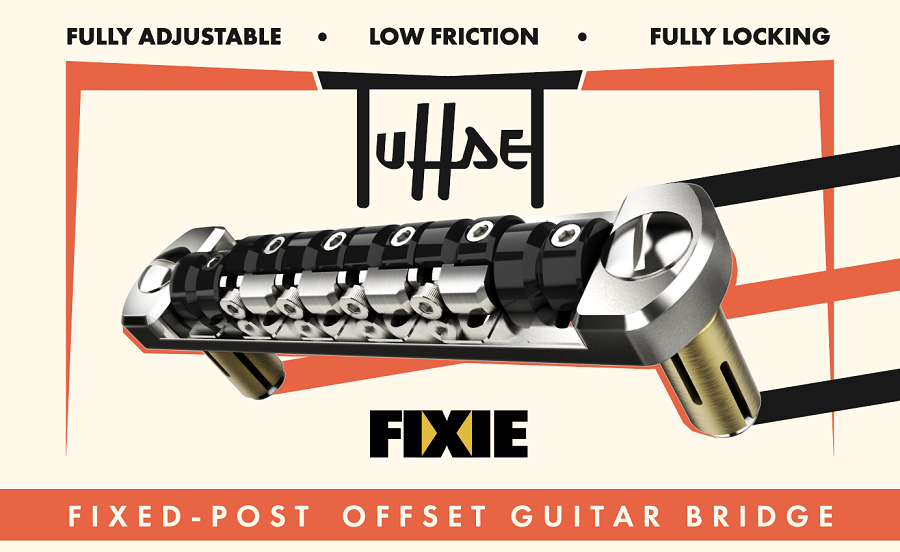
We sincerely thank you for the trust you have placed in us by choosing the Tuffset Guitar Bridge.
Fully adjustable and with locking functionality, the Tuffset Bridge has great potential to enhance your guitar's sound and playability.
This manual will walk you through the installation and setup processes, helping you to realise that potential and get the absolute best out of your instrument. We hope your improved instrument will continue to inspire you for years to come.
Installation Video
1. Remove your old bridge
Make sure to place the guitar face-up on a flat, clean and ideally soft surface.
Slacken your strings and remove the old bridge. The bridge will come loose as the string tension reduces.
a. Lift out bridge
2. Install your Tuffset Bridge
If your guitar was already well set-up, you might want to try roughly matching the post heights of your Tuffset bridge to the old bridge before installation.
a. Compare post heights
b. Place thimbles into body
Place the Tuffset Bridge in the thimbles of your guitar body.
You can install the Tuffset in whichever orientation you prefer (facing the neck or facing the tailpiece), based on looks or accessibility of the adjustment screws.
C. Position the bridge vertically
Install the Low E and High e strings, and start tuning them up to pitch
As the tension increases, you’ll find the bridge begins to stay where you put it. Position the bridge so that its posts are vertical, or maybe very slightly angled towards the vibrato. This angle is called your “neutral axis”. Tune both strings to pitch.
3. Setting the post heights
Insert the Large Allen Key into the post hole and turn clockwise to raise the bridge on that side, or anticlockwise to lower it.
Adjusting one side will slightly affect the height of the string on the opposite side, so check the action on both sides before proceeding.
a. adjust post height
b. Tune to pitch
Install and tune the remaining four strings to pitch, making sure they are seated properly within their string slots.
The height of the Outer Saddles (E and e) should now be set correctly. You will adjust their intonation later, but now we will set the heights of the remaining saddles.
4. Setting the four Inner-Saddle heights
You will notice that the four Inner Saddles of your bridge each contain two screws.
The extra screw allows the saddle’s height to be set independently of the other saddles, so a perfect setup can be achieved with any fretboard radius.
Since the Outer Saddle (E and e) heights have already been set by adjusting the bridge posts, they only feature one screw.
Raising the saddles
Raising saddle height:
The string height (action) will need to be raised or lowered for each saddle in turn. Use your Small Allen Key.
Turn the Locking screw counter-clockwise to loosen it. This introduces slack – the more you turn it, the more slack you have.
It is advisable to introduce just a little more slack than you think you need to make the adjustment required.
But be careful! If you loosen this screw too far, particularly at the top-end of the adjustment range, you could risk partial disassembly of the bridge.
a. Unlock saddle
Turn the Height Adjustment Screw clockwise to raise the saddle. If the screw goes tight before the desired height is reached, you might need more slack.
It's best to go back and forth between the Locking Screws and the Height Adjustment Screws in small increments to prevent accidental disassembly!
B. Turn to Raise height
When the height is correct, turn the Locking Screw clockwise until snug.
This takes up the remaining slack and locks the saddle height.
c. Lock your setup
lowering the saddles
Lowering saddle height:
Lowering the saddle is a slightly different process from raising the saddle, because turning the Height Adjustment Screw counter-clockwise has the additional effect of unlocking the bridge and creating slack.
Turn the Height Adjustment Screw counter-clockwise and the saddle height (action) will gradually fall.
a. Loosen screw & lower height
When the height is set correctly, turn Locking Screw clockwise until snug. This takes up the remaining slack and locks the saddle.
b. Lock saddle
5. Adjusting the Intonation
Intonation adjustment is needed to ensure that the fretted notes sound in tune as well as the open notes.
Unlike many other bridges, your Tuffset Bridge allows you to control the precise speaking length of each string individually, so you can enjoy notes and chords that ring true the full length of your guitar neck.
Remember – you’re intonating the guitar for the way you play! So when tuning or checking intonation, always use your typical playing velocity with your picking hand and your typical fret pressure with your fretting hand.
How to adjust intonation:
Tune the open string, then sound the 12th fret.
If the 12th fret is sharp, the saddle must be moved away from the neck.
If it is flat, it must be moved towards the neck.
If the 12th fret is in tune, the string is intonated correctly – move on to the next saddle until all strings are intonated.
Adjusting your Tuffset Saddles for Intonation
On your Tuffset Bridge, the process for adjusting intonation and locking the saddles is the same for all six saddles.
Following the process outlined above, choose a saddle and set its intonated position.
Using the Small Allen Key, turn the Locking Screw counter-clockwise to loosen it – one turn should be enough.
a. Unlock saddle
Holding the chassis of the bridge at its neutral axis with one hand, carefully slide the saddle with thumb and forefinger of the other to make the desired adjustment.
Tip: Be careful not to apply too much force – if it’s tight, you might need a little more slack to loosen it up instead.
b. Slide saddle to adjust
When the intonation is correct, turn the Locking Screw clockwise until snug.
Make adjustments as needed for all saddles. The Outer Saddles do not feature Height Adjustment Screws, but their Locking Screws work the same way.
c. Lock saddle
6. Finishing up
Once your guitar is playing well and all adjustments are set to your liking, it’s time to install the Locking Followers to lock your post heights in place.
There are four Locking Followers in a small ziplock bag in your Tuffset Bridge box.
Take two and screw one each into the top of the post holes with the Large Allen Key until snug.
A. Insert followers
b. Tighten followers
Remember that the Locking Followers will have to be removed before post-height adjustments can be made in future.
c. Install dust covers (Optional)
Finally for an optional cosmetic change, you may choose to insert your Dust Cover Screws after the Locking Followers.
Original Offset Guitar Bridge
Installation complete
Ready, Set, Tuffset!
Days
Hours
Minutes
Seconds