set up your tuffset Bridge
How it works
Installation guides
A detailed walkthrough of setting up your Tuffset Bridge for the first time, including how to install and adjust it.
Installation Video: Coming soon
The Tuffset Difference
Uncompromising design
Materials
All bespoke components are precision-milled from 303 and 304 billet Stainless Steel - there’s nothing pressed, stamped, cast, folded, or plated.
Manufacture
The Tuffset Bridge is proudly Made in the UK, with parts sourced from a pool of specialist manufacturers across the country. It is assembled by a passionate and dedicated team in our own workshop in Gloucestershire.
Posts
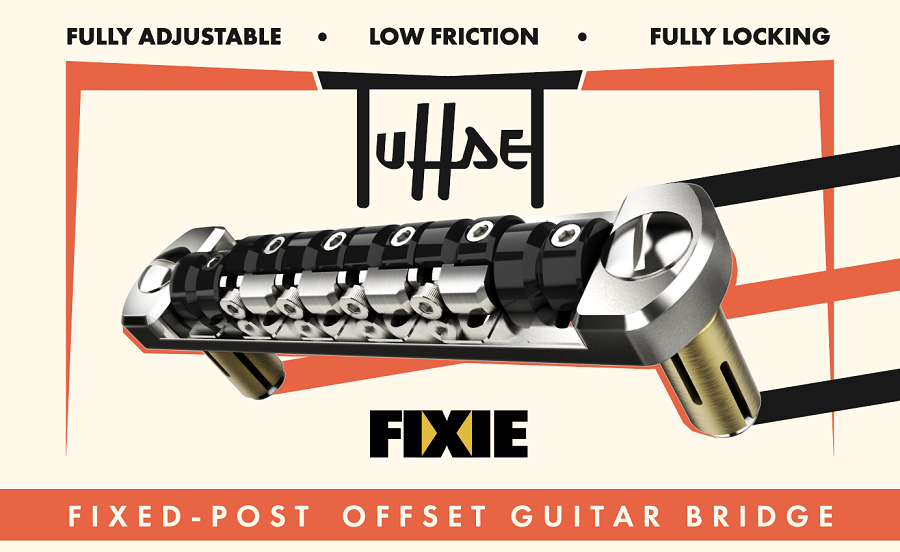
The post heights lock into place with our unique Bearing Lock system, for completely rigid and dependable performance that won't sink down when you need it most.
Stability
The Tuffset Bridge’s saddles adjust and lock according to a patented design that doesn’t need flimsy springs, allowing the whole bridge to resonate like a single piece of steel and hold your adjustments permanently.
Aesthetics
Drawing inspiration from vintage hardware, the Tuffset Bridge is designed to complement your guitar’s styling – not to upstage it with flashy logos and mismatched materials.
Authenticity
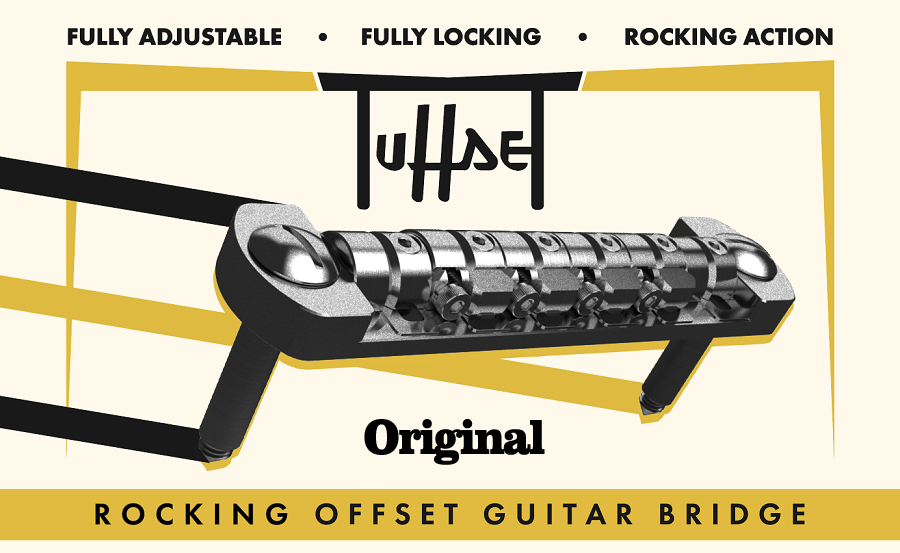
True rocking action gives you the vintage-correct Offset vibrato character you love, but without vintage-correct ownership headaches!
Performance
Tuffset Bridge's string slots are engineered to grip the string and drive the rocking action, preventing slippage and returning to true intonation even under the most robust and persistent vibrato usage.
Comfort
Tuffset Bridge’s taller shoulders don’t just improve post stability - chamfered on all edges, they also function as a comfortable palm rest
Compatibility
The Tuffset Bridge is a true drop-in replacement for vintage or modern instruments, and does not require any modification to your guitar - just slacken your strings, lift out the old bridge and replace it with the Tuffset.
We sincerely thank you for the trust you have placed in us by choosing a Tuffset Bridge.

Fully adjustable and with locking functionality, the Tuffset Bridge has great potential to enhance your guitar's sound and playability.
The manual will walk you through the installation and setup processes, helping you to realise that potential and get the absolute best out of your instrument.
We hope your improved instrument will continue to inspire you for years to come.